GLUTEN-FREE VEGAN MINI FRUIT TARTS(DAIRY-FREE, EGG-FREE)
Some of the links below might contain affiliate links. For more information see my affiliate disclosure page
Gluten-free, Grain-free, Dairy-free, Egg-free, Soy-free, Corn-free, Wheat-free, Peanut-free, refined sugar-free
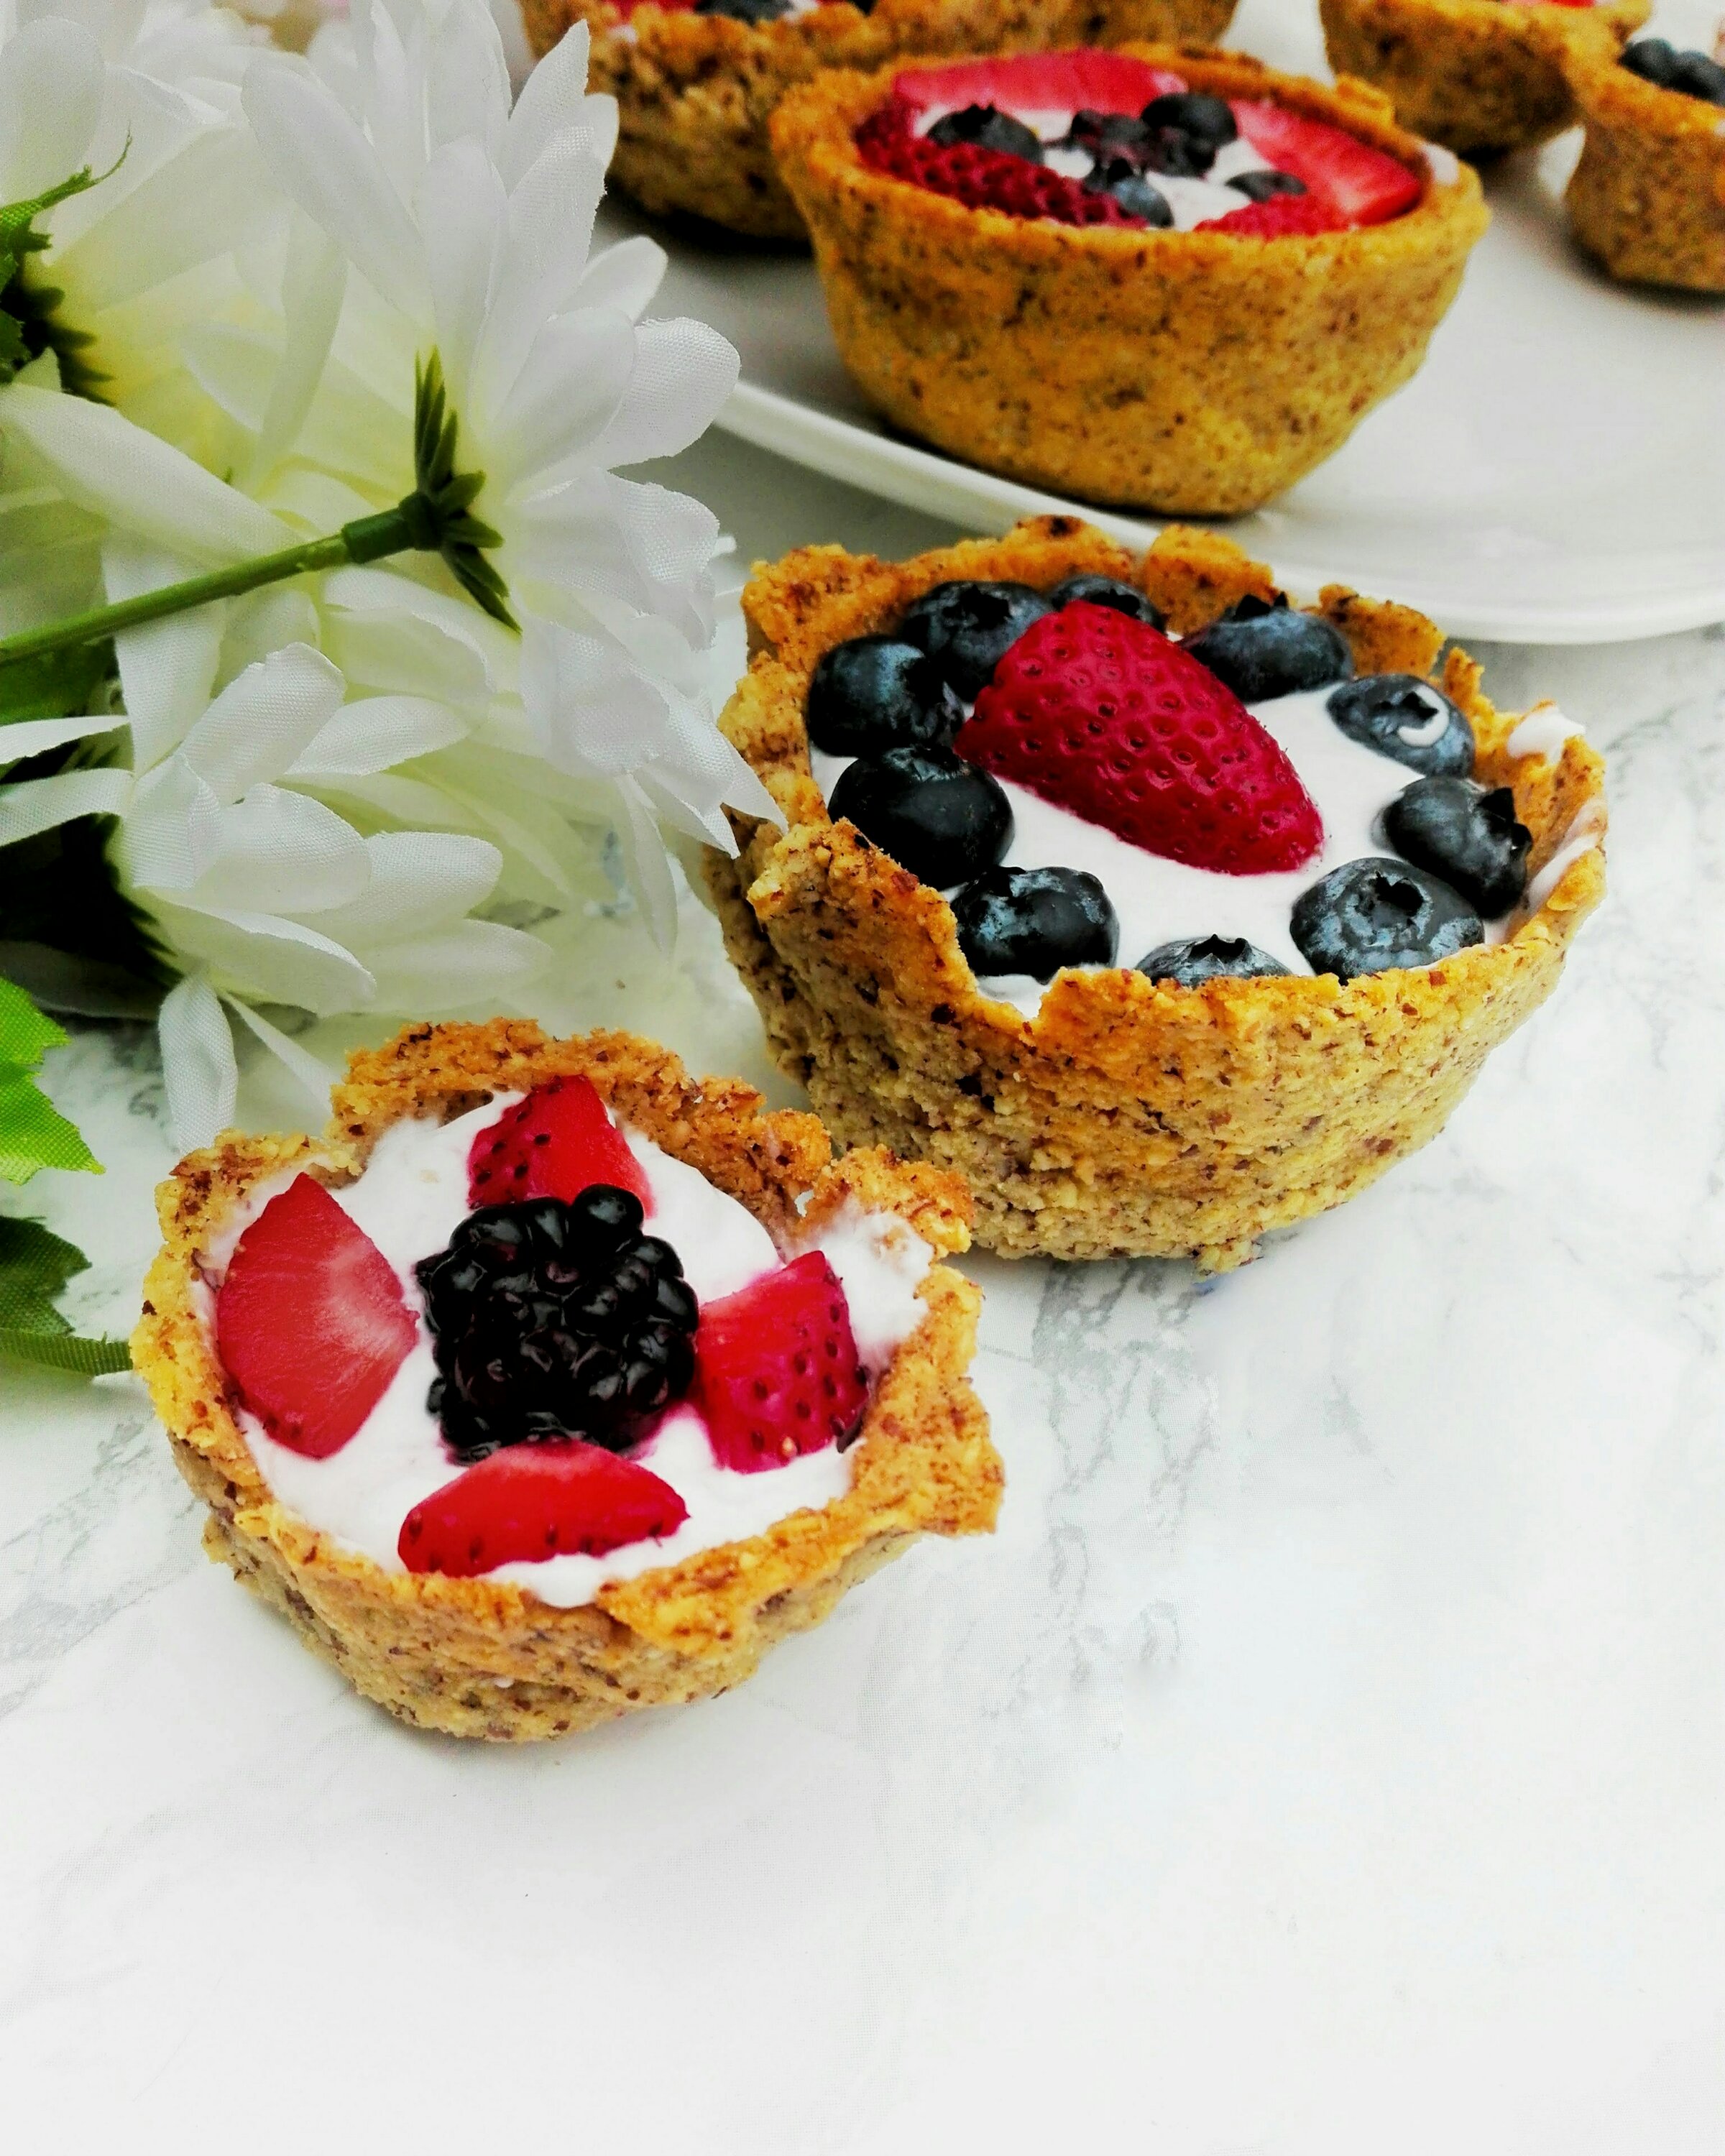
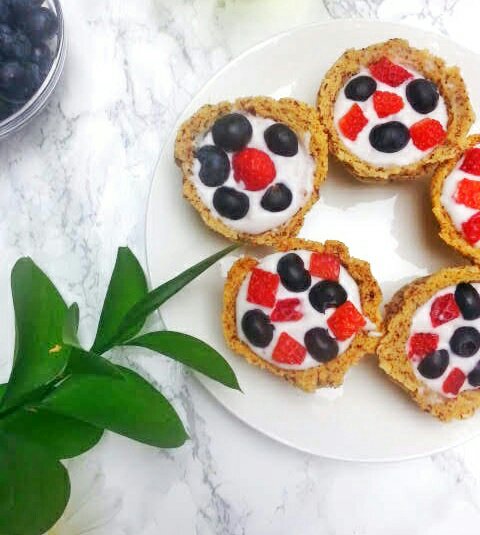
These gluten free vegan mini fruit tarts are super-cute, delicious, and easy to make. They are dairy-free, egg-free, refined sugar-free, corn-free, peanut-free, and soy-free.
They could be a great Fourth of July allergy-friendly dessert, or they would be perfect for an allergy-friendly party. Your family and guest, will be impressed, and they won’t be able to tell your amazing fruit tarts are free of so many ingredients.
This post contains affiliate links.
You might say… “These mini fruit tarts look amazing, but I don’t have a tart pan, and I need them like yesterday!” …don’t worry, I have you covered. You can make great tart crusts without a tart mold, as long you have a mini muffin pan (regular muffin pan will also work, just your fruit tarts will not be mini size). However this mini tart pan or these tart molds will make adorable and perfect tarts.
Making the crust
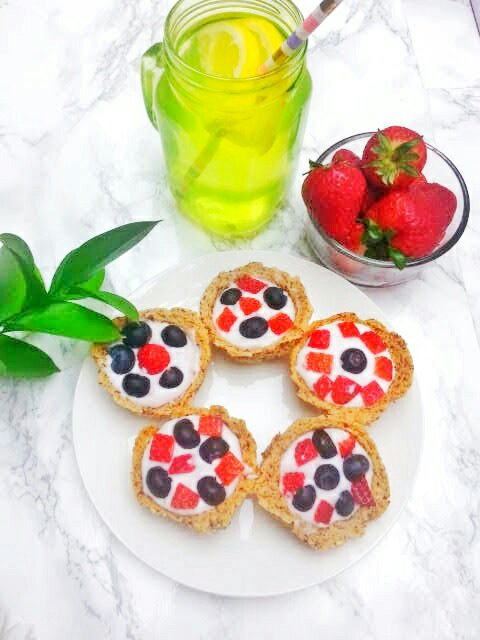
To make the crust you will need almond meal, tapioca starch, coconut flour, baking soda, vanilla, palm shortening, maple syrup, and coconut milk.
In this recipe, I used almond meal. Since the almonds are not processed super-fine, the crust has a great texture and taste. Almond flour will also work, but you might need to adjust the coconut milk/water amount. As a rule, if your dough is too sticky and won’t come off your fingers, then there is too much liquid, and you need to add more flour. You want your dough to have a soft play dough consistency.
You would turn the muffin pan upside down, and use the bottom of the muffin cups to create a tart shape. Add oil to the back of each cup. Cover each individual muffin cup with dough, being careful not to let them touch each other. If you want, you can alternate cups in order for the crusts not to touch each other.

Bake at 350 for about 10 mins.
It’s important not to remove the crusts until they cool down. Once cooled, if the crust does not come off easily you can slowly and carefully rotate the crust to the right.
You can make the crust ahead of time, by keeping it in the fridge until you are ready to fill it.
It is best to wait to fill the crust until closer to serving. Depending what you use, it might make the dough soggy at the bottom if the filling is left in the tart too long.
Filling
For the filling, I have had good results using whipped coconut cream and vanilla pudding.
Option 1- Whipped coconut cream
If you want an easy and fast filling, the whipped coconut cream is great choice. It tastes really delicious and is easy to make. You can make the whipped cream from 1-2 cans of coconut milk. You will need to buy the fat full version. This brand or this one will work great to make dairy free whipped cream.
You need to chill the coconut milk in the fridge before using it, in order for the cream to separate. Place the unopened can in the fridge overnight. Open the can, and remove the cream on top. Place it in a bowl, and with a mixer, whip the cream until reaching the desired consistency.
Add 1 tsp of maple syrup (or more if you want it sweeter) and 1 tsp of vanilla. You can also add 1-2 tsp of your favorite jam for a different flavor.
If you use this option for your filling, be sure to fill the tart crusts right before serving, and to keep them in a cool place. It can make the dough at the bottom soggy and the cream could become less firm the longer the tarts are kept at room temperature.
Option 2- Dairy-Free Vanilla Pudding with Tapioca Pearls
Initially, we made the fruit tarts with the whipped cream, and they tasted great, but recently we decided to try them with dairy free vanilla pudding, since I wanted something firmer that would not start to melt if kept at room temperature for an extended time.
To make the pudding, you will need tapioca pearls (this brand is gluten-free and what I used),coconut milk, and maple syrup. For better results, you should soak the pearls for about 30 mins before cooking.
Topping
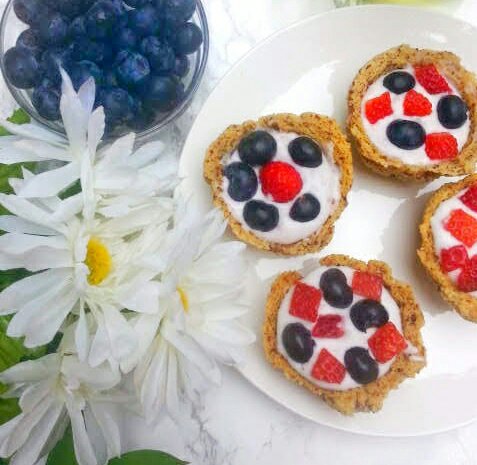
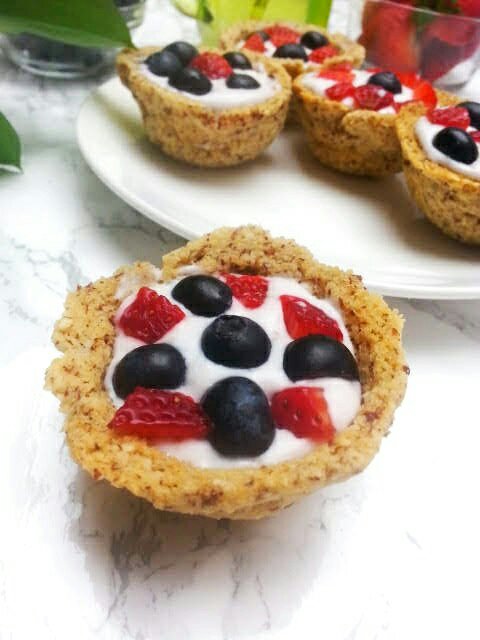
For toppings feel free to be creative, and add your favorite fruit. Great choices are strawberries, blueberries, raspberries, blackberries, kiwis, oranges, mangoes, etc.
Comment below with your questions or suggestions. Tag me with your creations on Instagram @allergyummy; I would love to see them.
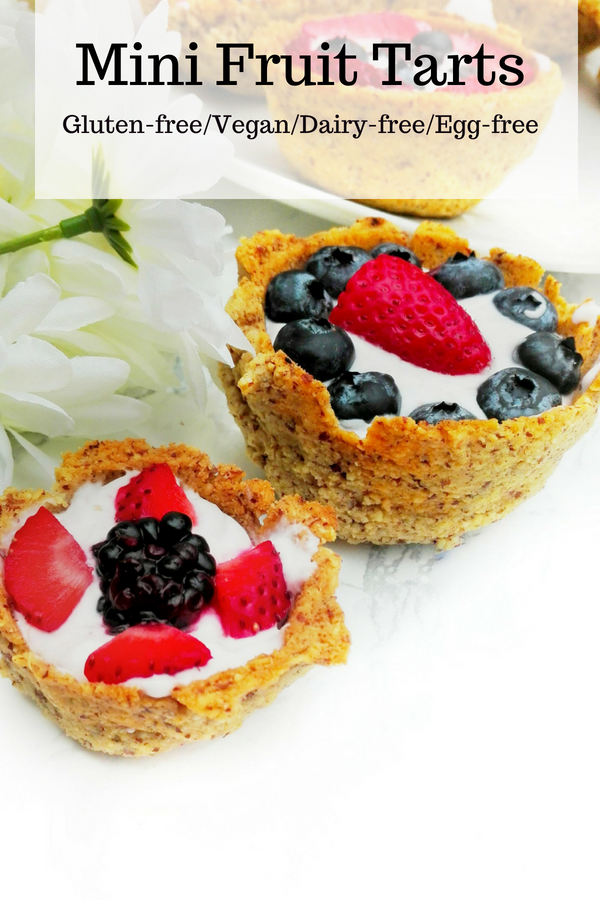
Click on the image below to PIN IT for later.
- 1 cup almond meal
- 1/2 cup tapioca starch
- 2 tbsp coconut flour
- 1 tsp baking soda
- 2 tbsp palm shortening
- 2 tbsp maple syrup
- 1 tsp vanilla
- 3/4 cup Coconut Milk
- 1-2 can Coconut Milk
- 1 tsp vanilla
- 1 tsp maple syrup
- 1/4 cup tapioca pearls
- 1 tbsp vanilla
- 2 tbsp maple syrup
- 3 cups Coconut Milk
- 1 handful of favorite fresh fruits
-
Preheat oven to 350F.
-
In a bowl, mix the almond flour, tapioca starch, coconut flour and baking soda.
-
Add the palm shortening, and mix in with the flour.
-
Add maple syrup, vanilla, and coconut milk, and mix them until all is incorporated with the dry ingredients.
-
Add oil to the back of each muffin cup.Turn the muffin pan upside down, and use the bottom of the muffin cups to create a tart shape. Cover each individual muffin cup with dough, being careful not to touch each other. If you want, you can alternate cups in order for the crusts not to be close neighbors.
-
Bake at 350 F for about 10 mins.
-
It's important not to remove the crusts until they cool down. Once cooled, if the crust will not come off easily you can slowly and carefully rotate the crust to the right. You can make the crust ahead of time, by keeping it in the fridge until you are ready to fill it. It is best to wait to fill the crust until closer to serving. Depending what you use, it might make the dough soggy at the bottom if the filling is left in the tart for long.
-
If your dough is too sticky and won't come off your fingers, then there is too much liquid, and you need to add more flour. You want your dough to have a soft play dough consistency.
-
Chill the coconut milk in the fridge before using it, in order for the cream to separate. Place the unopened can in the fridge overnight.
-
Open the can and remove the cream on top. Place it in a bowl, and with a mixer whip the cream until reaching the desired consistency.
-
Add 1 tsp of maple syrup (or more if you want it sweeter) and 1 tsp of vanilla. You can also add 1-2 tsp of your favorite jam for a different flavor.
-
If you use this option for your filling, be sure to fill the tart crusts right before serving and to keep them in a cool place. It can make the bottom soggy and the cream could become less firm the longer the tarts are kept at room temperature.
-
In a bowl soak the tapioca pearls with 1 cup of coconut milk for about 30 mins.
-
After the 30 mins have passed, add the soaked pearls and any excess coconut milk to a saucepan.
-
Add the rest of the coconut milk,and bring to a boil.
-
Cook on medium heat for 15 mins, until tapioca pearls turn from white to transparent color and the liquid becomes a thicker consistency. Be sure to stir often.
-
Remove from heat and add in maple syrup and vanilla.
-
Refrigerate for 3-4 hours. You can place it to the freezer for 15 -20 mins for a faster result.
-
Fresh fruit like strawberries, raspberries, blueberries, blackberries, kiwis, oranges, cherries, etc.

3 thoughts on “GLUTEN-FREE VEGAN MINI FRUIT TARTS(DAIRY-FREE, EGG-FREE)”